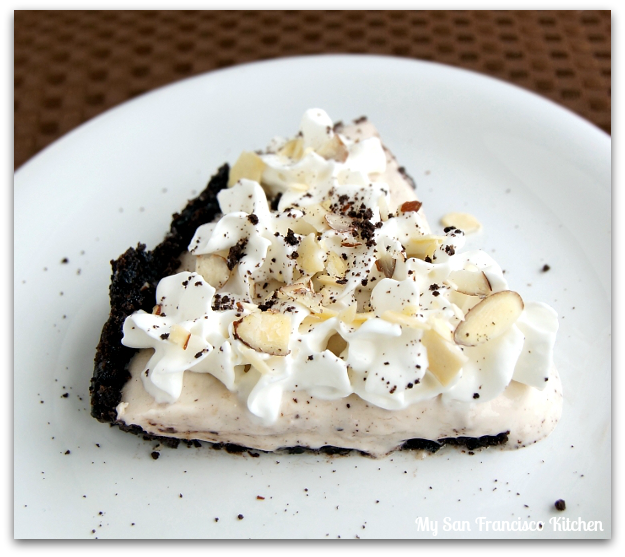
 This week is an exciting one for me. I survived my first day of rotations today (yay) and I am launching my first recipe book this weekend – stay tuned for more details! After a long day at the hospital, I came home and indulged with this low fat banana cream pie I made for Easter yesterday. Oh, how rude of me – Happy Easter by the way! I hope you had a wonderful day with family and friends, and plenty of chocolate of course 😉
This banana cream pie is really easy to make. The hardest part is waiting for the filling to set in the freezer! When I was looking around for recipes, I saw that most were made with egg yolks and/or heavy whipping cream (it is a banana cream pie after all…what did I expect?!). I try to avoid heavy whipping cream in desserts, because come on, have you looked at the nutrition label? There is more saturated fat in two tablespoons than I probably eat in one whole day! I created this recipe for those who want to enjoy a creamy banana filling, but without all the fat from heavy cream. Don’t expect it to taste like a traditional banana cream pie, but I think it is full of banana flavor and the texture is excellent. Keep the banana cream pie in the freezer until you are ready to serve it, then place outside to defrost for about 20 minutes so it gets nice and soft.
- 12 chocolate sandwich cookies (can substitute graham cracker crust)
- 2 tbsp butter, melted
- 4oz light cream cheese
- 1 tsp vanilla extract
- 2 tbsp confectioners' sugar
- ⅓ cup non-fat milk
- 2 small bananas (or 1½ large)
- ¼ cup light Cool Whip
- Light whipped cream and sliced almonds for topping
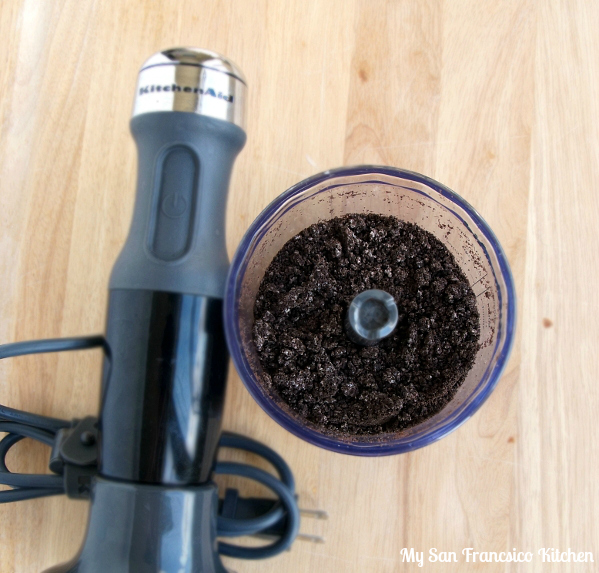
- In a KitchenAid 5-speed hand blender or food processor, grind the chocolate sandwich cookies down to fine crumbs (or graham crackers if using these instead).
- Add the crumbs to a pie dish, along with melted butter.
- Mix together with a fork until the cookie crumbs are completely wet, then press against the pie dish to form the crust.
- Refrigerate for 15 minutes.
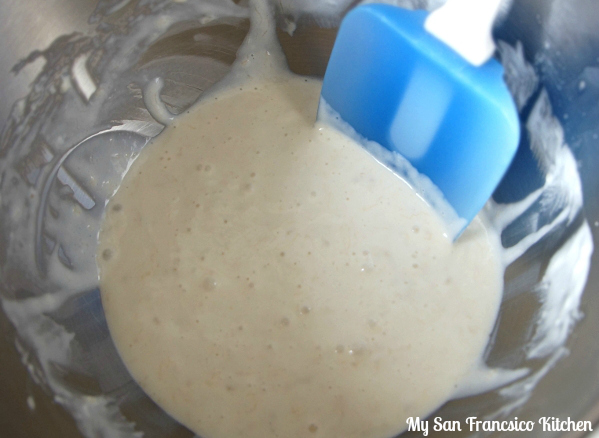
- In the meantime, add all of the filling ingredients to a stand mixer and mix (or beat with electric beaters) until smooth, about 4 minutes.
- Transfer filling to pie crust and freeze for 1 hour, or until filling is firm.
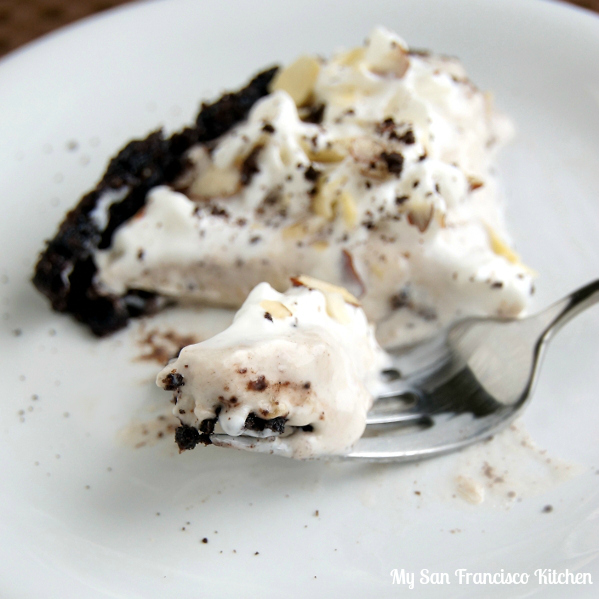
- Store in the freezer until ready to serve, then set out for 20 minutes before cutting.
- Top with light whipped cream and sliced almonds.
FTC Disclosure: KitchenAid provided me a 5-speed hand blender free of charge.
Congrats on the book, and on the rotations!! This pie is fabulous!
Thanks Dorothy! 🙂
I’m allergic to bananas (tragic, no?), but that does not stop me from trying delicious banana desserts. And this looks fantastic.
Congrats on the recipe book! Can’t wait to hear about it!
Oh no how sad!! 🙁 Thanks for the congrats!
Looks good! However, I see that you mentioned using egg whites in the crust, but it isn’t listed in the ingredients list. How much do you use?
Hi Jen! Thanks, and thanks for catching the mistake! I actually was experimenting with baking it (using egg whites in place on butter), but it did not come out as good as non baking it, so I ended up NOT using egg whites and refrigerating the crust. I will revise the recipe now 🙂
Ooh! Love the crushed up cookies!
They are the best part 😉
I love banana cream pie and I bet this low fat version made with cream cheese is as wonderful as the regular full-fat pie!
Thanks Bianca =)
I am soooo excited for you and the book my friend, big congrats 🙂
And lovely pie!
Cheers
Choc Chip Uru
It looks like the real thing but how wonderful that it’s so much lighter in fat and calories. What a great looking pie and I’m sure with the reduced caloric intake it would be just fine to ask for a second slice xx
Go you and your awesome week of busy!!!
And of course, I’ll take a slice of pie please. x
YUM! My husband loooooves banana cream pie – I should make this for him sometime soon!
Great looking pie – I love banana cream! And congrats on the book – really exciting news.
Congrats on everything! This looks like an amazing pie to come home to after all that 🙂
Yayyy for book! And yay for rotations!
And of course YAYYY for skinny banana cream pie! MMMM!
mmm this looks so good!
Thank you Angie!
i will definitely make this . i wonder what size of pie dish is for this recipe? 9 inch diameter?
Yes, it is 9-inch! Sorry about that 🙂
thank you i already made it today . it’s in the fridge. ^^
This recipe is a stunner! A great intro to your lovely blog! 🙂
Thanks so much for your kind comment!
Wow, congrats on the rotations and book! And this looks amazing and easily veganizable, thanks! 🙂
I want this banana cream pie to fill up my belly right now.
This pie looks wonderful! I can’t wait to make it. I am always looking for the low fat desserts, especially with chocolate. I’ll let you know how it turns out. Thanks!